
If you are a backyard barbecue aficionado, then you know how integral it is to have a large space for entertaining and cooking. A BBQ island is a great setup for this purpose since it will both give you lots of space to cook on your grill while also providing your guests with a place to sit and relax while they enjoy their food and your hospitality. If you don’t already have one, then you are probably wondering how to build a BBQ island with steel studs.
While this might seem like an overwhelming proposition, it actually isn’t all that difficult. There is certainly some work involved, but it shouldn’t be anything that anyone with the proper tools and a good work ethic can’t handle. The good thing about this type of island is that, once it’s done, it should last you for a good long time.
 How much time will it take?
The amount of time that it will take you to build your new BBQ island is really dependent on how handy you are and whether or not you have the proper tools. If you are new to this sort of build, then you are probably looking at two weeks of labor with 1-3 hours of work a day. On the other hand, if you have the right tools and are handy, then you will be able to get the entire project done in a week if you work for 1-3 hours a day.
Obviously, this is all a general rule. The amount of time could be faster or shorter based on a variety of factors, from broken tools, mistakes, or whether you have a helper or not. No matter what, you need to make sure that you take your time. You don’t want to rush this sort of project. It is better to take a longer time and get a solid BBQ table than to rush the job and have something that doesn’t last for a long time.
There are lots of things that you will need to get this job done. This includes:
Now let’s get right down to business and start going into detail about the different steps that you need to follow to make your backyard BBQ island dreams come true.
 Anytime that you are starting a new project, the very first thing that you need to do is to start with a plan. There are lots of different examples that you can use to set up your specific island. Just make sure that you take the time to measure out the amount of space that you have and compare it to the different appliances that you want to utilize.
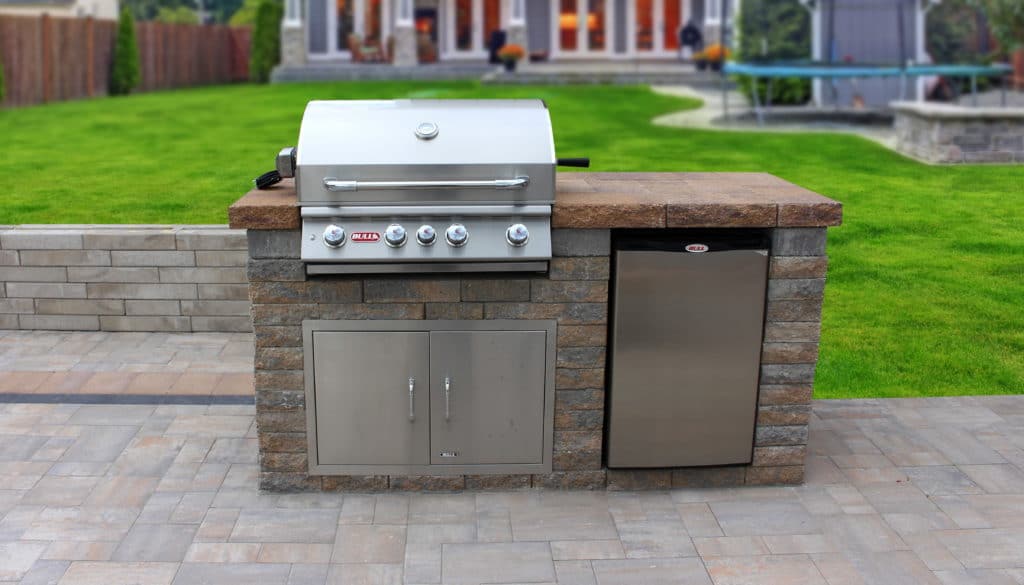
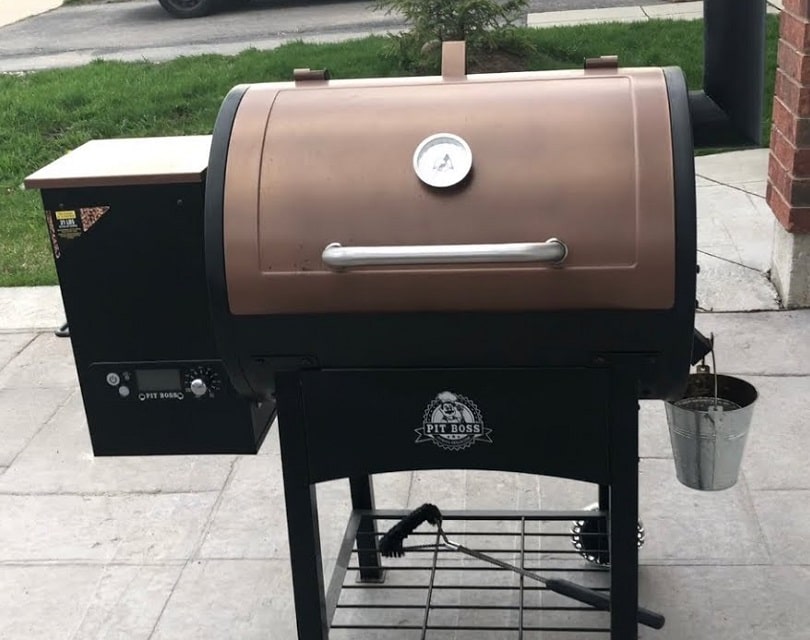
You need to take into account the size of your grill, of course, but you also need to think about the size of anything else you are adding to your design, such as sinks and countertops. You should also look for a grill that is designed to be built into a countertop, like this offering from Blaze. Once you have figured out the different dimensions you are working with, then you can purchase the necessary materials. Remember, you should have enough studs that are about 12 inches apart. This plan will also allow you to cut all of the pieces to the correct length before you assemble them, which is a big time saver.
After you have your plan figured out and have purchased the necessary materials, it is time to get started. The first thing that you will want to do is lay down the composite boards that you purchased in the outline of your island. This will provide you a reference so that you can see exactly how much space you are working with and where your studs should be as you assemble the island. These boards will also give you the structure that you need to attach your studs without having to worry about them falling over.
If you really want to make your life easier, you can also use a chalk line to set the exact parameters of the island onto these boards. That way, you will have a larger set of your plans for reference right in front of you while you are working.
After you have your outline laid out, it is time to start putting your island together. The first step of this process is to establish the foundation of your new island. This involves laying out a track system that the studs will fit into. This base is extremely important to get right since it will be supporting the entire island.
Using the chalk line or exterior of the composite boards as your guide, put your lower track in place. You should attach it to the boards or directly to your patio with screws. If you are working on concrete, then you will need a hammer drill to get the pilot holes started. After the first piece of track is put down, connect the next piece but be sure to overlap the track by several inches so that all of the pieces are good and stable.
Once the base track is put in place, you are ready to start placing the vertical studs. These need to be spaced out about 12 inches from each other. If you are looking to increase the stability of your overall structure, you can reduce this spacing down to 9 inches apart. You probably won’t need anything closer than this, however, as it will just end up being too expensive. Repeat this step for all of the other studs in your design. For each appliance that you are building, you need to move the studs closer together, however, so that there is enough support for the extra weight.
To place a stud, clamp it in place and then drill a hole through both the track and the stud. Next, check to make sure that the stud is level horizontally and vertically. From there, attach the two pieces to each other using screws.
Once you have all of the studs attached, you are ready for the top racks. These will complete the frame of your new island, so make sure that you secure and level them very carefully. As you work along adding the top track, take the time to level each individual piece. That way, you can rest assured that you have a strong structure throughout. You should also make sure to overlap these tracks just like you did with your bottom track.
You will should add other horizontal supports around where you are going to put your appliances for extra supports. This should also be done on the ends of your island too since this will add more stability to the project.
Before you install any panels or countertops, you should wire your island. This is much easier to do before the frame is covered up since you will have great access to the entire interior. You can use secure the cables with zip ties or plastic bushings. Both of these attachment methods should hold the cables securely in place and stand the test of time as well.
Finally, once the frame is finished, your grill is in place, and the appliances are properly wired, you can add your side panels and counters. This can be as simple as screwing wooden panels and composite countertops into the frame to as extravagant as poured concrete countertops and tile sides. The only limit is your budget and imagination. Just be sure to do this as carefully as possible since this is what you will see every time you enter your backyard.
 Now, if you are not all that handy or just don’t have the time to devote to a big project like this, you can certainly save some time and money by buying an island or grill table to add to your patio. This unit from Keter is an excellent option to add some counter space outside without breaking the bank.
There is nothing quite as much fun as having friends, neighbors, and family over for a cookout. Of course, if you are going to have a large crowd, it is nice to have a great spot to entertain them. By adding a BBQ island to your grilling Trusted Source Barbecue grill - Wikipedia A barbecue grill or barbeque grill (known as a barbecue or barbie in Australia) is a device that cooks food by applying heat from below en.wikipedia.org space, you can combine form and function into one exquisite package that is sure to provide plenty of value over the years.
As long as you take the time to plan it out carefully, knowing how to build a BBQ island with steel studs is relatively straightforward. These systems are extremely durable and sturdy. Once you have it built, it should give you years of enjoyment in your backyard.