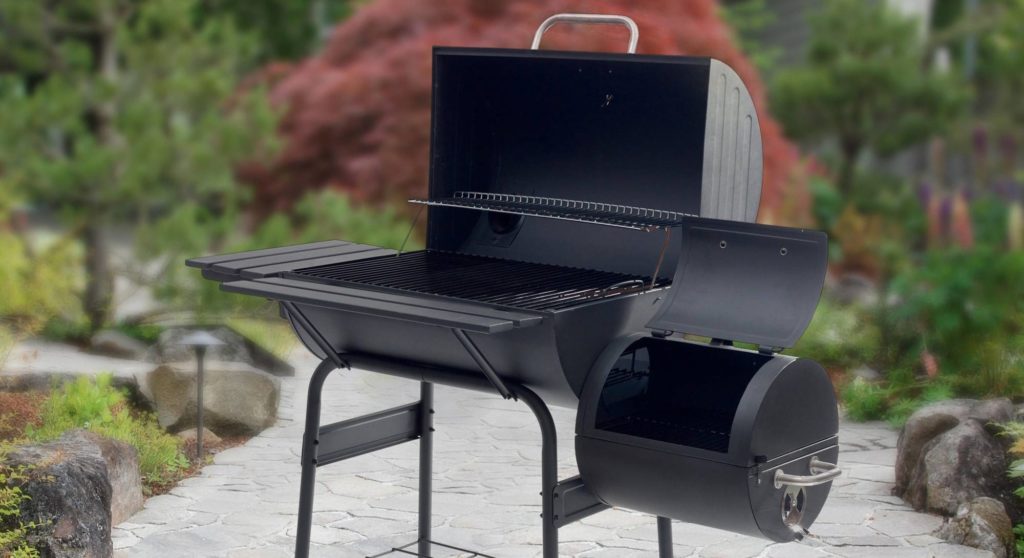

If you’ve never used a smoker before, you may be wondering why you should choose an electric model over a charcoal or wood smoker. Well, the answer is simplicity. Electric smokers, like the Masterbuilt models, are easy to use, even if it’s your first time trying your hand at smoking.
These are also high-quality units that are reliable and functional for a wide variety of meals, from fish to steak to veggies. Electric smokers are efficient, maintaining their temperature with very little effort on your part. If you’ve purchased one of these handy units but are still unsure how to use a Masterbuilt smoker properly, check out the following sections.

Best masterbuilt smokers are one of the top brands on the market for a few reasons. These smokers are built well, using high-quality materials that will last for years, even if you’re using them frequently. They are also energy-efficient, with great insulation that helps maintain their heat, even when the smoker is running all day long. The Masterbuilt smokers have a high capacity, with a few size options to choose from, so you can cook enough food to feed a large group or just a few friends.
The fact that these smokers are electric means you can set the temperature and walk away. You only need to check out the smoke supply once in a while, filling the wood chip smoker box or the water tray once in a while and leaving the smoker alone the rest of the time to do its job. Best of all, Masterbuilt smokers are affordable, so even those on a budget can get their hands on one. If one happens to break down on you, the parts to repair a Masterbuilt electric smoker are easy to find, so you won’t be without it for long.
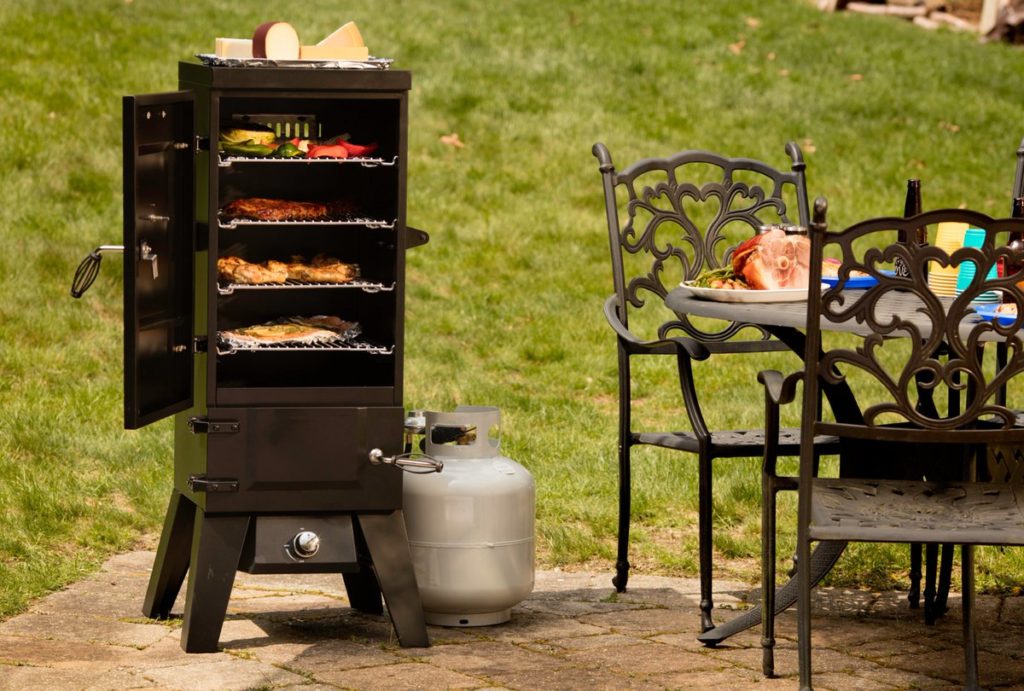
Unlike other smokers that use propane or charcoal for the heat, Masterbuilt electric smokers use a normal heating element. This heats the wood chips you’ve added to the wood chip box, creating the smoke needed for that fantastic flavor. The element also heats the water tray, sending up steam that tenderizes the meat as it cooks for an even better meal. This allows you to set the temperature and walk away instead of babysitting the unit as you would with a charcoal model. Electric smokers are also energy efficient and heat up fast, so they won’t add too much to your energy bill.
If you’ve never used a Masterbuilt electric smoker before, the first thing you should do is read the Masterbuilt smoker manual that comes with it. This will ensure that you are using it as it is intended. The following tips will also help get you started. Once you’ve tried it out, you’ll likely be smoking like a pro in no time.
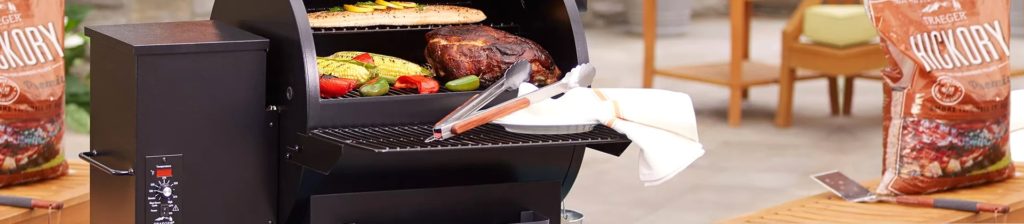
When you first purchase your new electric smoker, you may want to check out what’s in the box before even thinking about starting it up. Aside from the smoker itself, there should be a few racks in the box to hold the food you intend to cook in the smoker.
A drip pan should be included to hold the water that creates the steam needed for the most tender meats possible. There should also be a wood chip smoker box that holds your favorite wood chips for a tasty smoky flavor.
Before using a Masterbuilt electric smoker for the first time, it needs to be seasoned. This will get rid of any dust, oil, or other debris that may still be inside the smoker from when it was manufactured. Seasoning it will burn off any of those unwanted extras, so they don’t taint your food when you start cooking.
To season your smoker, you should read the Masterbuilt smoker instructions as well as using these tips. First, make sure the empty water pan and the wood chip smoker box are placed properly in the smoker. Do not add any water to the water pan. You can clean the racks by hand if you wish, but the seasoning process will take care of this as it seasons the rest of the smoker, so this step is unnecessary.

Once the setup of the unit is finished, it’s time to start it up. Plug the unit into a nearby outlet and press the start button to turn it on. Adjust the temperature to 275 degrees Fahrenheit. You should also set the timer for 3 hours. Then leave the unit to cook off all of the junk the manufacturing process has left behind.
When there are only 45 minutes left on the timer, it`s time to add some wood chips. Place ½ cup of wood chips to the wood chip smoker box and let them smoke inside the unit to finish off the seasoning process. When the timer has counted down to 0, you can turn off the smoker and let it cool down. Now you`re ready to use your smoker to cook up some tasty meals for your family and friends.
Now that your unit is seasoned, it’s time to learn how to use a Masterbuilt digital smoker for smoking some tasty dishes. The process is a bit different than it would be if you were to use a Masterbuilt bullet smoker since you don’t need any charcoal to use it. A nearby outlet is all you need to get it running, with less mess to clean up when you’re done. For the proper procedure, check out the sections below.
How you prepare your meat is up to you. It should be thawed completely, or you may have to add several hours to your smoking time, plus you risk unevenly cooking your meats. You can season it with your favorite spices or try out a new recipe.
If you’re going to use a marinade, make sure the meat is in it for at least an hour before you start smoking it. Many people leave it in the marinade overnight to ensure the juices have penetrated the meat completely, though not everyone has time to start their smoker prep that far in advance.
Just remember that the longer the meat marinades, the more time it has to soak up those flavorful juices, so try to start this process as early as you can.
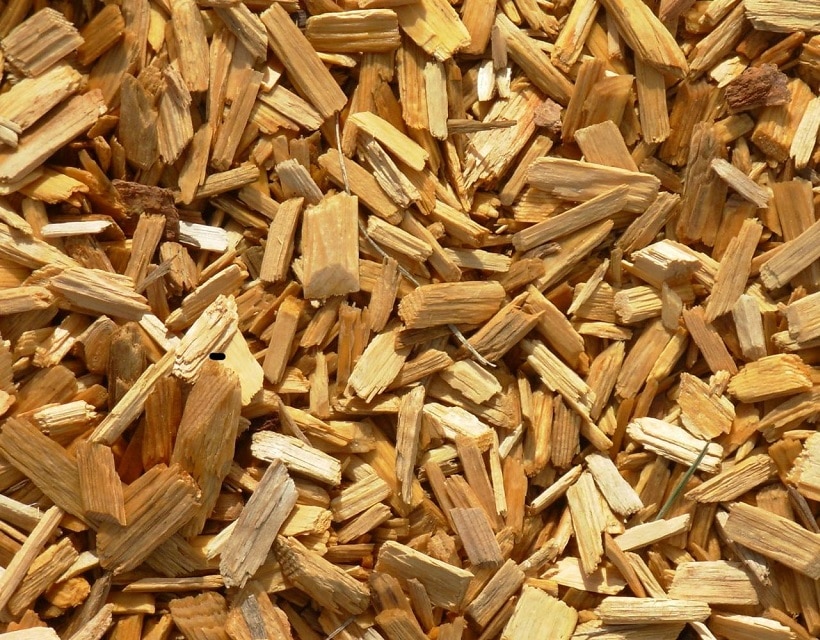
Adding the first round of wood chips to the wood chip smoker box should be done before you turn on the smoker, while it’s still cold. Only add about 1/2 cup at a time. This is to prevent them from creating more smoke then is needed for the proper smoky flavor.
This is also the time to add some water to the water tray. There is no set amount as the size of the tray will vary depending on the Masterbuilt electric smoker that you buy. Follow the instructions in the Masterbuilt smoker manual included with the unit for the proper water level.

Once the wood chips and water have been added to the smoker, it is time to preheat it. Set the temperature to 225 degrees Fahrenheit. This is the best temperature for almost every type of meat and most fish recipes. Of course, if you have a specific recipe you’re following that states another temperature is needed, be sure to use those instructions to be sure your food turns out as expected. It may take up to 45 minutes for the smoker to heat up to your desired temperature, so be patient.
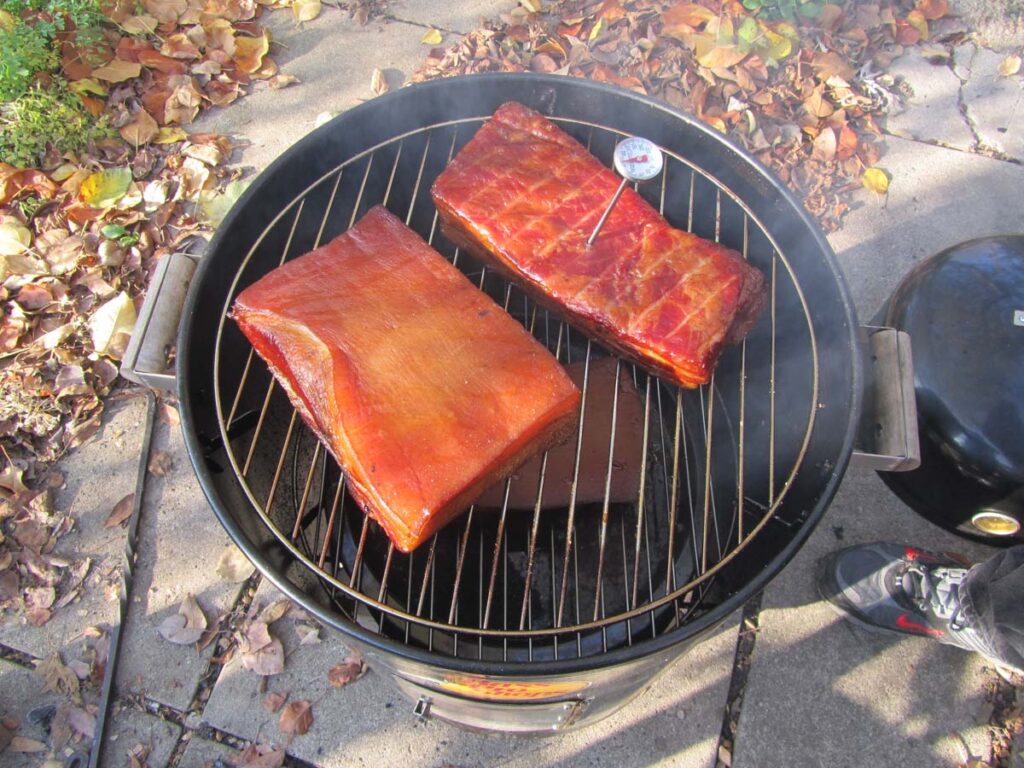
When the smoker is preheated and ready to go, it’s time to add your meat. Place it evenly on the grill racks, leaving some space between each piece to ensure proper airflow.
Some people believe it’s a good idea to wrap the grills in foil. Though this will make it easier to clean them when the meat has been removed, it also prevents proper airflow during the smoking process. This means the heat isn’t going to be distributed evenly, which can affect how long it takes the meat to cook, so it’s best to leave the foil off the racks.
Different meats have different cooking times, so be sure to follow the recipe and set the timer accordingly for the types you’ve got in the smoker.
The best thing about a Masterbuilt electric smoker is that you need to do very little to maintain the temperature. This is because it will maintain the temperature you set on its own as it cooks the items you have inside it.
You do need to remember to add more wood chips to the wood chip smoker box now and then. It’s easy to know when to do this, too. If you notice that the smoker box isn’t producing enough or any smoke, it’s time to add some more wood chips. A half a cup each time is plenty, so don’t overdo it. Adding some extra wood chips may raise the temperature in the smoker, but this is normal. The machine will regulate itself, so you don’t need to adjust the temperature in any way.
You should also check the water level in the water pan now and then to be sure it is still producing steam. If you notice it is low, check out the instruction manual on how to safely add more water to the smoker. This will ensure that your meat stays moist during the smoking process instead of drying out.

Even if you marinated the meat before you put it in the smoker, it can be nice to add a bit of extra sauce on it to give it even more flavor. Not only will this enhance your meal’s taste, but it will also make sure it is ready to eat as soon as it comes out of the smoker.
When it comes to basting, each meat has its own timing. You should always baste when the meat is about 2/3 of the way finished in the smoker. The cooking times will vary from meat to meat, though, since this depends on the size and thickness of the cuts in the smoker, as well as the temperature you’re using.
For example, a whole chicken needs about 3 hours to cook all the way through. So, you should baste it after it’s been in the smoker for about 2 hours. This will give it time to soak into the meat as it is cooking for a tasty extra layer on top.
When the meat is smoked to perfection, it’s time to remove it from your Masterbuilt electric smoker. Don’t start serving it right away, though. It’s best to let it rest for about 30 minutes before cutting into it. When this time is up, your meat or fish dishes are ready to eat.
While you’re waiting for your meat to rest, you can turn off the smoker and let it cool down. You may want to leave the cleanup for the next time you’re ready to use the smoker, but the process will be more difficult if you don’t do it right away.
Cleanup is rather simple, too, using the following steps:
If you weren’t sure how to use your Masterbuilt electric smoker, we hope the information in this article will make the process a bit easier for you. Masterbuilt models are well built, energy-efficient, and affordable, so they are easy to use, even for a beginner. They can also deliver those mouth-watering meals you’re family and friends will rave about for years to come, making them well worth the little bit of effort it takes to use them.