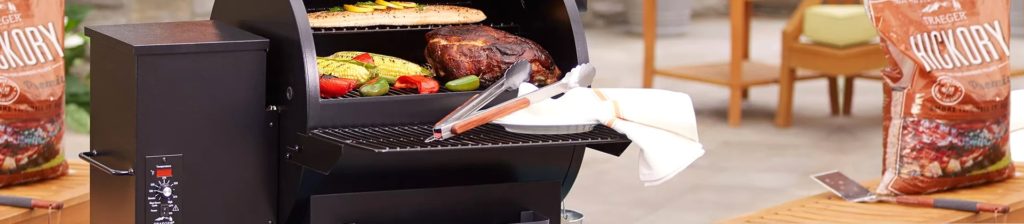

You probably already know that there are three fundamental grilling or smoking techniques: indirect, direct, and combination of both. Depending on your fire, each approach, such as barbecuing or smoking meats, positions your dish in various ways. If you’re new to barbecuing, then you might not be aware of the benefits of the minion method. And, trust me, you definitely have to.
We all understand that cooking meat on fire might be tricky on the first try. Therefore, here are some small tips to help you achieve the best outcome. If you’re grilling a sizeable chunk of meat, don’t lift the cover of your grill for at least 2 hours to avoid losing heat. But when it comes to bringing your grill to the required temperature, be patient and readjust your ventilation if essential. We’re optimistic that once you understand how to set up a slow-burning, you’ll be well on your journey to creating a piece of art.

Even though it could have formed a nice story behind the invention, small yellowish animated “minions” had nothing to do with this.
The indirect BBQ technique was invented by Jim Minion, a barbecue expert and grill competitor. It was as simple as throwing unlit coals and a few firewood bits in the fireplace, then topping this off with heated charcoal briquettes. The burning coals ignite the unlit ones and timber beneath them, resulting in a prolonged cook time with consistent temperatures and pleasant smoke.
The fluid pan aids in thermal circulation while also maintaining a consistent and appropriate heat. The fuel required to heat the water pan contributes to keeping temperatures low, while the heat repurposed into steaming aids in redistribution. Thus, one can produce the optimal smoking setting with some basic charcoal formation and through the use of a regular water pan.
Pros:
Cons:
The Minion Smoking Method is the fastest and easiest method to get started among traditional methods. Within as little as 20-25 minutes, you can have your smokers up and working. This is how to assemble the Minion Method in step-by-step guidance.
Fill your chamber with charcoals

We’ll begin with the coal base at the bottom of the construction. Then, within the pierced ring, place non-burning coals in your fuel chamber. It can either be almost to the top or only a few inches thick, based on what dish you’re preparing.
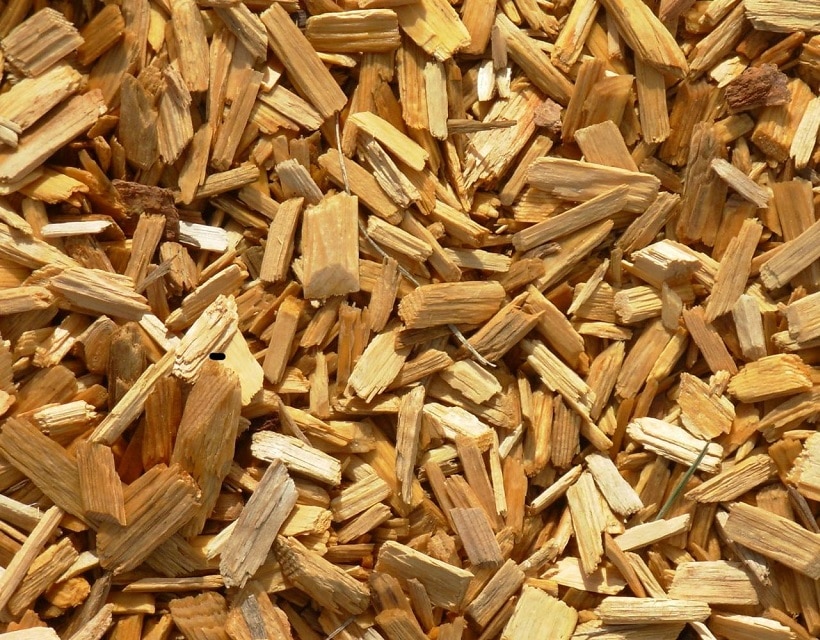
Once you’ve created a thick, flat layer, make a hole in the middle to fit your kindling coals. At this point, you can also add Stainless Steel Maze Bars from SHINESTAR to aid in a more consistent burning of the coals. The stainless-steel maze bar helps the flame to burn gradually and efficiently through the framework, keeping the fuel sources excellently ventilated and maintaining heat production for extended periods without continuous checking.
Cover the stack with some firewood pieces and uncover the top and bottom air ventilation openings.
Light charcoals up
In Jim’s initial method, he began his coals’ fire in a fireplace starter, but you may alternatively use a blow torch or similar equipment to get your burning coals lit.
The quantity of pieces differs based on the weather outside. More on chilly afternoons and less on hot summer days. Throw the charcoal to your grill once they are roughly 2/3 coated in grey ashes.
Proper charcoals placing
Place the burning coals on top of your coal layer, in the middle of the “donut”. You may either equally distribute them or just leave them burning in the center.
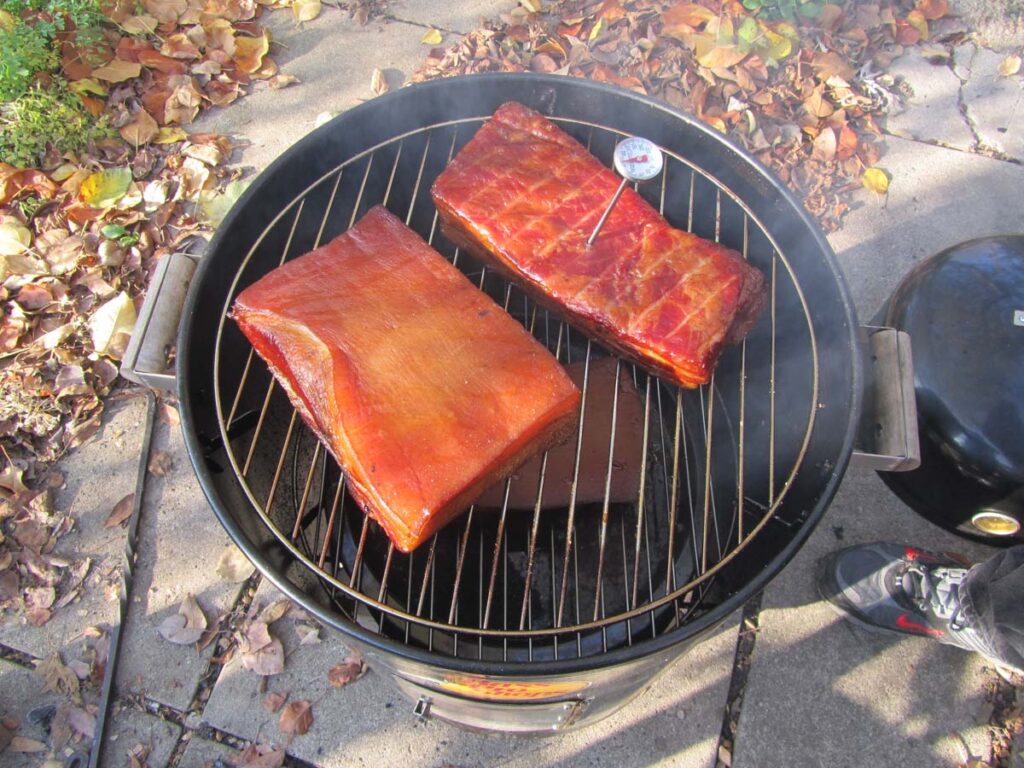
As your starting embers burned away, the coals around them will ignite. This ensures consistent heat in your smoker. At this stage, you can place a half-filled water pan on the grate above and then close the lid.
Adjusting your vents
Close the top and bottom ventilation openings to a 1/4 when the temperature in your smoker becomes 200°F. Then, keep checking the temperature till it gets to the point of 230-250°F.
Modify the ventilation as needed till the heat is appropriate for cooking. Keep in mind that the position you put your vents in will depend on multiple factors, such as weather, humidity, and how good or bad you lit your starter coals.
Apply only minimal modifications to the bottom openings. Consider waiting at least 15 minutes between each adjustment to allow the charcoal to catch up with the new conditions.
It might be challenging to get your firepit temperature precise. Every competent pit expert understands his or her firepit, and you eventually will as well. That’s a form of art on its own to get the circulation of the smoking vents perfectly accurate. If you leave your air vents opened too wide, your temperature will rise significantly. If you leave them open insufficient, your fire will go out.
To achieve your preferred firepit temperatures, follow the 15-minute rule of checking and adjusting if necessary.
Another useful tip is to cover the bowl using foil for easy clean-up while cooking dry. You may also put sand in the basin and top it with tinfoil. Sand, similar to water, will aid in regulating the temperature within the stove.
What temperature range is best for this method?
The Minion method BBQ is best for low and slow grilling, and the average temperature ranges from 230 to 280 degrees Fahrenheit. It’s excellent for smoking that uses indirect cooking with the flames kept away from the meat, so don’t think it will work for grilling beef patties.
What type of cooker can be used?

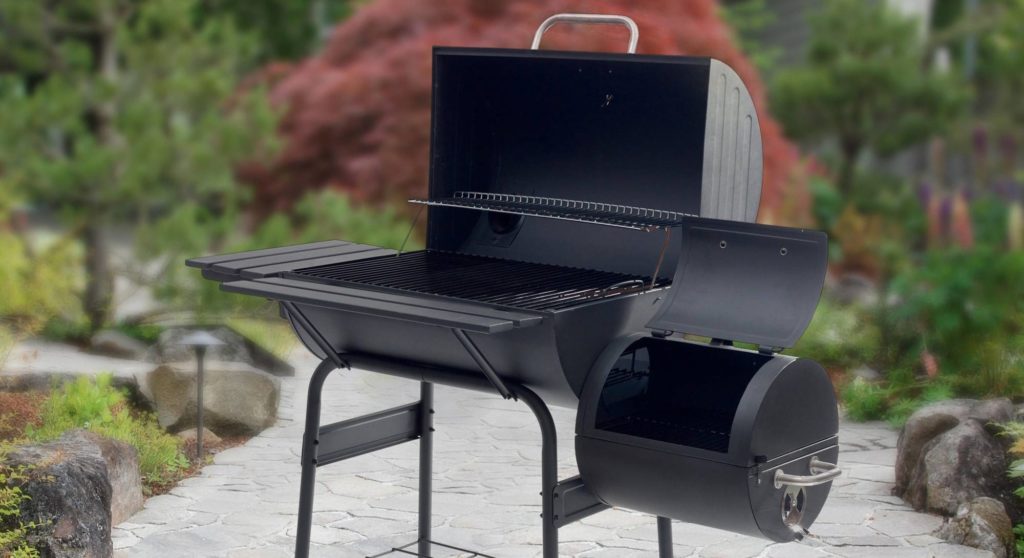
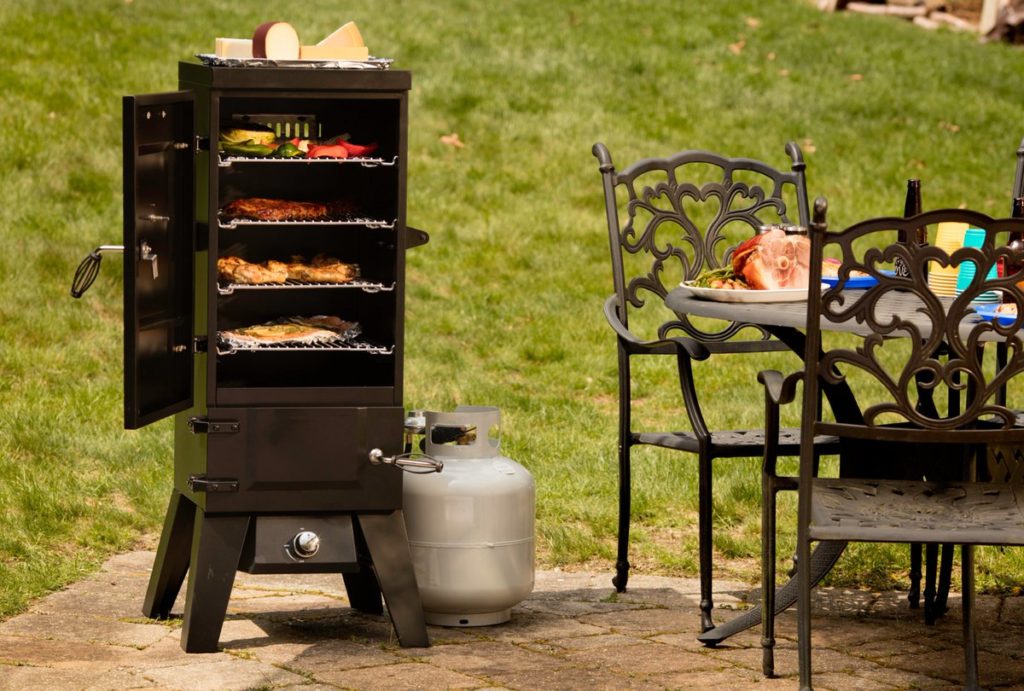
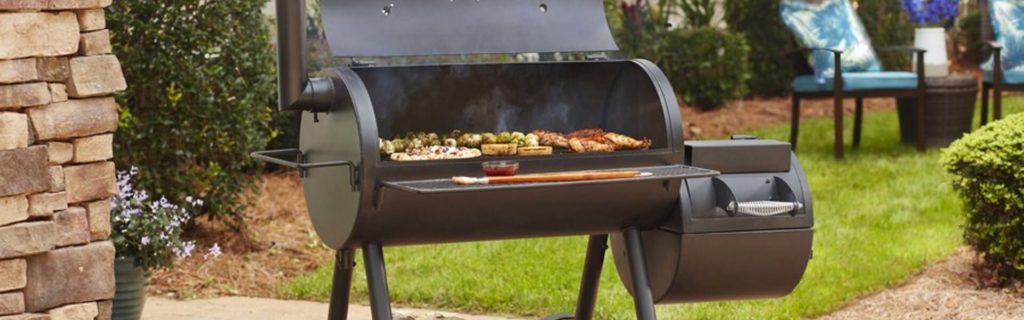
Though this Minion technique was designed for a Weber Smokey Mountain barbecue, it has been adopted by a variety of smokers and BBQs and many grilling experts. Simply ensure that the flames are at the proper distance from the meats. In grills and barbecues with a deep firebox, the Minion method works optimally. If the firebox is just too shallow, the embers and firewood would be too close to the food, and a low and slow roast will be impossible to achieve.
You’ll want to practice around with your particular BBQ or smoker to see what works best for you. The method should then be modified to match the device’s size, air circulation, and permeability.
Another key factor is the airtightness of your grill or smoker. An uneven smoker with many leakage spots allows more smoke to be released and more airflow to enter, causing the fuel to burn more rapidly. Likewise, the charcoal will fire more evenly if your barbecue or smoker is sealed, providing you much lengthier and slower cooking.
What charcoals are the best for the minion method?
The Minion Method works with both briquettes and lump coals. Yet, just like anything, they have their own pros and cons.
Since lump charcoal burns significantly hotter and quicker, you’ll need to replace it more regularly. The lump also has a more natural shape than it is uniform. As a result, you must be more attentive while placing pieces in your barbeque, ensuring that they are tightly put for a steady burning.
On the bright side, lump charcoal is cleaner than briquettes and produces fewer ashes, making maintenance a little simpler.
Briquettes burn more consistently and are simpler to load tightly in the grills because of their uniform shape. They can, unfortunately, create a considerable amount of ash, which must be removed, or the fire will be smothered.
The minion method may be used with any type of fuel, but a thermometer is required to control the temperatures.
It’s a proven knowledge that the Minion method functions well. Despite the fact that it was invented by accident, it has become a famous and trusted method for low and slow grilling adopted by grillers and barbeque gurus across the states. You can get your smoker set and going in under 20 minutes if you follow the four simple steps listed above, and you can try out different modifications to discover one that fits your cooking method and gear.
You’ll choose the Minion Method for grilling your favorite meats again and again after you’ve tried it once. Indirect grilling is a great method to make sure your food is always delicate, juicy, and flavourful.